Bolsa de red tulipan / Tulip filet crochet bag
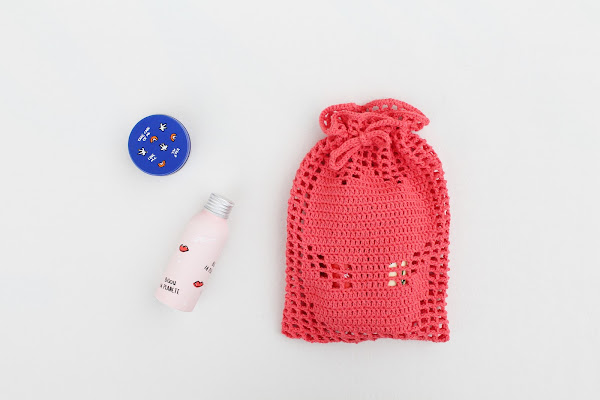
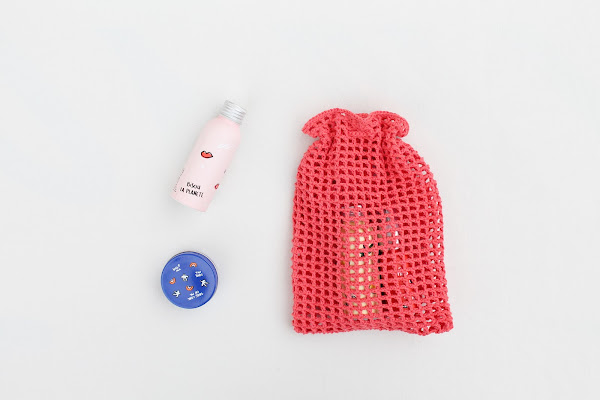
Hace unas semanas publiqué una bolsita de red decorada con un tulipán en mi cuenta de Instagram y prometí compartir el patrón así que, cumpliendo mi palabra, hoy os explico cómo hacerla.
Lo más importante de este DIY es conocer la técnica "filet crochet" que ya utilicé en este "IKEA Hack" hace unos años y que es tan sencilla como saber hacer cadenetas y puntos altos de ganchillo.
Podéis encontrar toda la información con los materiales necesarios e instrucciones debajo de las fotos.
¡Que disfrutéis ganchilleando!
A couple of weeks ago I posted a filet crochet little bag with a tulip on my Instagram account and I promised to share the pattern so, keeping my word, today I will tell you how to make it.
The most important thing about this DIY is knowing "filet crochet" technique which I already used in this "IKEA Hack" some years ago and it is as simple as knowing how to make crochet chains and double crochet stitches.
You can find all the informatio about the necessary materias and instructions underneath the pictures.
Enjoy your crochet!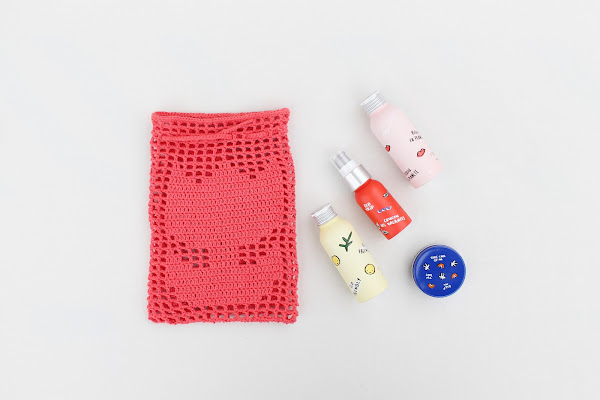
INSTRUCCIONES
Hilo: Hilo de algodón nº 3 (yo he utilizado DROPS Loves You 9 en color coral)
Aguja: Aguja de ganchillo nº 3 (1.75 mm)
Punto utilizado: Filet crochet (podéis ver un tutorial en español aquí y otro en inglés aquí).
Pasos:
Montar 48 puntos de cadeneta y unir los puntos para seguir trabajando en circular.
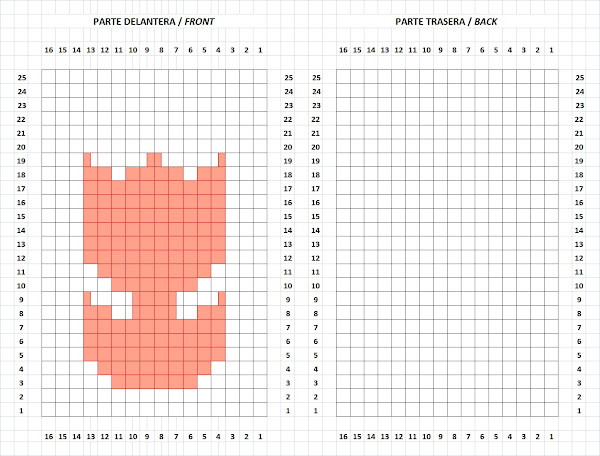
Seguir el diagrama que se indica a continuación utilizando la técnica de filet crochet, dibujando el tulipán en los diez puntos centrales.
Una vez terminado el diagrama, hacer un punto bajo en cada punto y cerrar pasando el hilo por el último punto (48 puntos)
Coser la parte de abajo de la bolsa
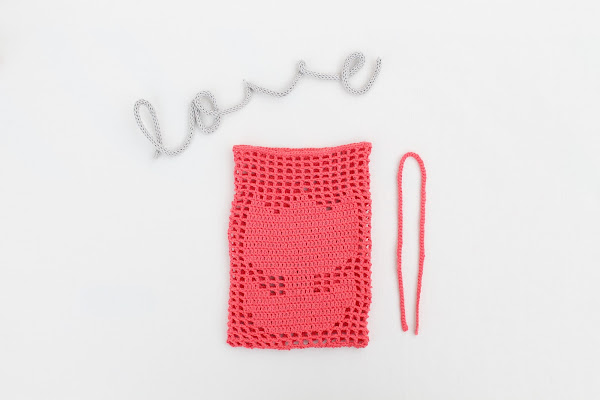
Para la cuerda del cierre: montar una cadeneta que mida aproximadamente 45 cm (o la largura que prefieras) y hacer un punto enano en cada cadeneta
INSTRUCTIONS
Yarn: Cotton yarn nº 3 (I have used DROPS Loves You 9 in coral colour)
Needle: Nº 3 crochet hook (1.75 mm)
Sitch used: Filet crochet (you can find a tutorial in English here and another one in Spanish here)
Steps:
Cast on 48 chain stitches and join the stitches to start working in the round
Follow the chart above using filet crochet technique, drawing the tulip on the ten stitches in the middle
Once you have finished the chart, make one single crochet on every stitch and close by pulling the yarn through the last stitch (48 stitches)
Sew the bottom of the bag
For the closing rope: cast on a chain measuring aproximately 45 cm (or the length you prefer) and make one slip stitth on each chain stitch